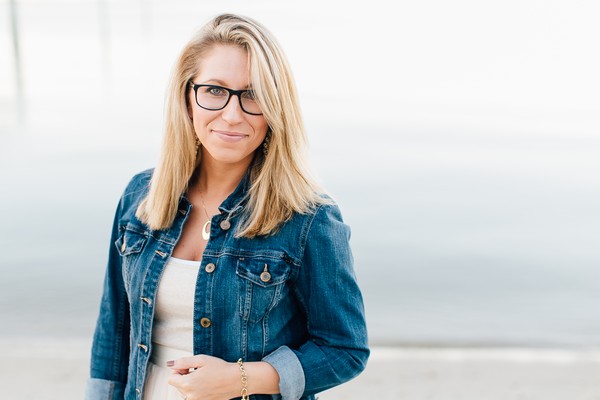
I appreciate the simple things in life - from a hand out the window driving down a back country road to a puppy's dirty paw prints on a just vacuumed carpet. I value the important things in life - from holding my husband's hand to living with a purpose. I think that everyone is beautiful, from the freckles on their face to the chipped nail polish on their toes. I find beauty in the smallest of things. I laugh at myself... a lot, and I love with all of my heart.... My hope is that you feel the exact same way - and that's why you're here... I hope that you love the simplicity and honesty found in my images and that you feel the connection I have with each person I've photographed!! And I really hope that tomorrow you feel the same way, and make it a point to come back! ~ Sharon Elizabeth

M
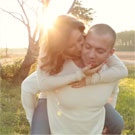
y goodness-this wedding hit me right in the feels!!! It was a day just full of love! A strong family bond and friends that were treated just like family. You can't help but feel a part of the group. Everyone is open and loving and considerate. That stuck in my mind after Ashby and Paul's big day. It was awesome from start to finish. I have to mention the bond between Ashby and her... View This Post >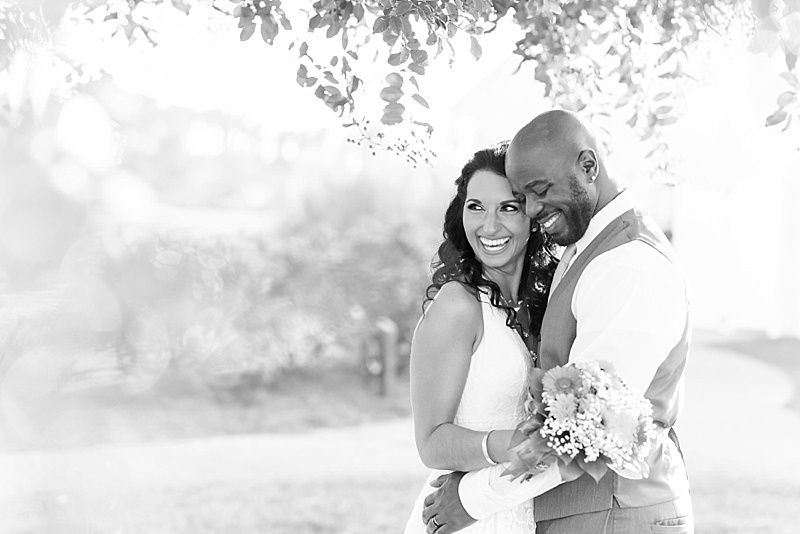
O
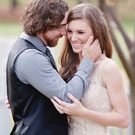
ne little thing that I love most about our team is that our weddings range from lavish to simple... from large to small... and they're ALL perfect... because our couples are truly just good.. damn people... they're sweet -- loving -- thoughtful. and oh my goodness -- these two.... just #allthefeels -- Chase and I both just love them!!! From random gym chats to an incredibly intimate... View This Post >
I
don't feel well.
I cannot remember a day where I felt GOOD. I constantly feel sick, extremely fatigued, and have little to no energy. I have always suffered from bad migraines, serious digestive issues, awful skin issues... the works.. I never feel good. It's such a minute-to-minute battle honestly, and there have been numerous times in my life, I have felt 'crazy' for ALWAYS... View This Post >
I
grew up with Kirsten... we used to ride our bikes to each other houses. We rode horses.. and four wheelers.. vacations.. we did everything together. She was my best friend. I remember the first night she hung out with Hunter.. I was with her.. and that night after their first date we had a sleep over and she gushed about how much she liked him. Weeks later we had a note book filled... View This Post >
H
eather & DJ's wedding was the definition of perfect! Everything from the details, the sweet love letters they read to each other before the ceremony - we all totally cried- , the look on DJ's face when he saw Heather walk down the aisle, to the family prayer, and the fun reception full of dancing. It was a beautiful wedding, full of love, emotion and God's presence. I remember... View This Post >
I
truly enjoyed every part of Mary and Cullen's big day. Everyone that was a part of their sweet day was just wonderful. We seriously felt like a part of the family! I loved all of the details Mary chose, the colors, the whole vibe of her day. It was relaxing, stress free and just FUN! They had an awesome reception and the cakes were made by her talented mother!! I still remember the... View This Post >
A
hhhh - what a beautifullllllllll wedding day for Melanie + Derek at The Oyster Farm -- we had a blast with That Booth Guy and it was so fun to watch Meghan + Amanda dance the night away with Melanie + Derek and all of their friends + family <3 View This Post >
I
know that Ashley and the team had such a sweet day with Casey + Christos!!! From the getting ready in the wine cellar to the walk down the aisle to dancing the night away -- they said the day was filled with so many SWEET and beautiful moments!!! Christos even wrote a special note on the bottom of Casey's shoes and surprised her with it!!!! I know Chase and I had a blast with That... View This Post >page 1 of 52